Level Up Your Food Photography Game
Ready to take food photos that are truly mouthwatering? The key isn't just delicious food; it's all about the lighting. Think about those stunning food images you see online. The vibrant colors, glistening textures, and dramatic shadows aren't an accident. They're created through carefully planned lighting techniques, drawing inspiration from the history of photography itself.
Early food photographers, limited by the technology of their time, mastered the art of using natural light and manipulating shadows to make their subjects shine. Today, we have a broader range of tools at our disposal. We can use natural light from windows or create intricate artificial lighting setups. We can mimic the warm glow of a kitchen or the dramatic contrasts of a Renaissance painting.
The effectiveness of these methods lies in understanding how light interacts with food. Light reveals texture, sets the mood, and tells a story.
Eight Essential Lighting Techniques
In this article, we'll explore eight essential food photography lighting techniques to transform your snapshots into stunning visuals, no matter your skill level. Get ready to unlock the power of light and capture food photos that are as appealing as the dishes themselves.
- Natural Light: Learn how to use window light to your advantage.
- Backlighting: Create a dramatic effect by placing the light source behind your subject.
- Side Lighting: Emphasize textures and create depth with side lighting.
- Front Lighting: Illuminate the entire dish evenly with front lighting.
- Diffused Light: Soften harsh shadows with diffusers.
- Artificial Light: Explore using continuous lighting and speedlights.
- Bounce Flash: Learn how to bounce flash off walls or ceilings for a softer look.
- Food Styling: Discover how props and backgrounds can enhance your lighting setup.
Whether you're a home cook sharing your creations on social media, a food blogger, or simply someone who loves taking pictures of food, these tips will help you take your food photography to the next level.
1. Natural Window Light
Natural window light is the cornerstone of beautiful food photography. It's also the most accessible. This technique, favored by beginners and seasoned professionals alike, uses soft, diffused light streaming through windows. This gentle illumination creates subtle shadows and highlights, adding depth and texture without harsh contrasts. Forget expensive studio setups—all you need is a window and a little know-how.
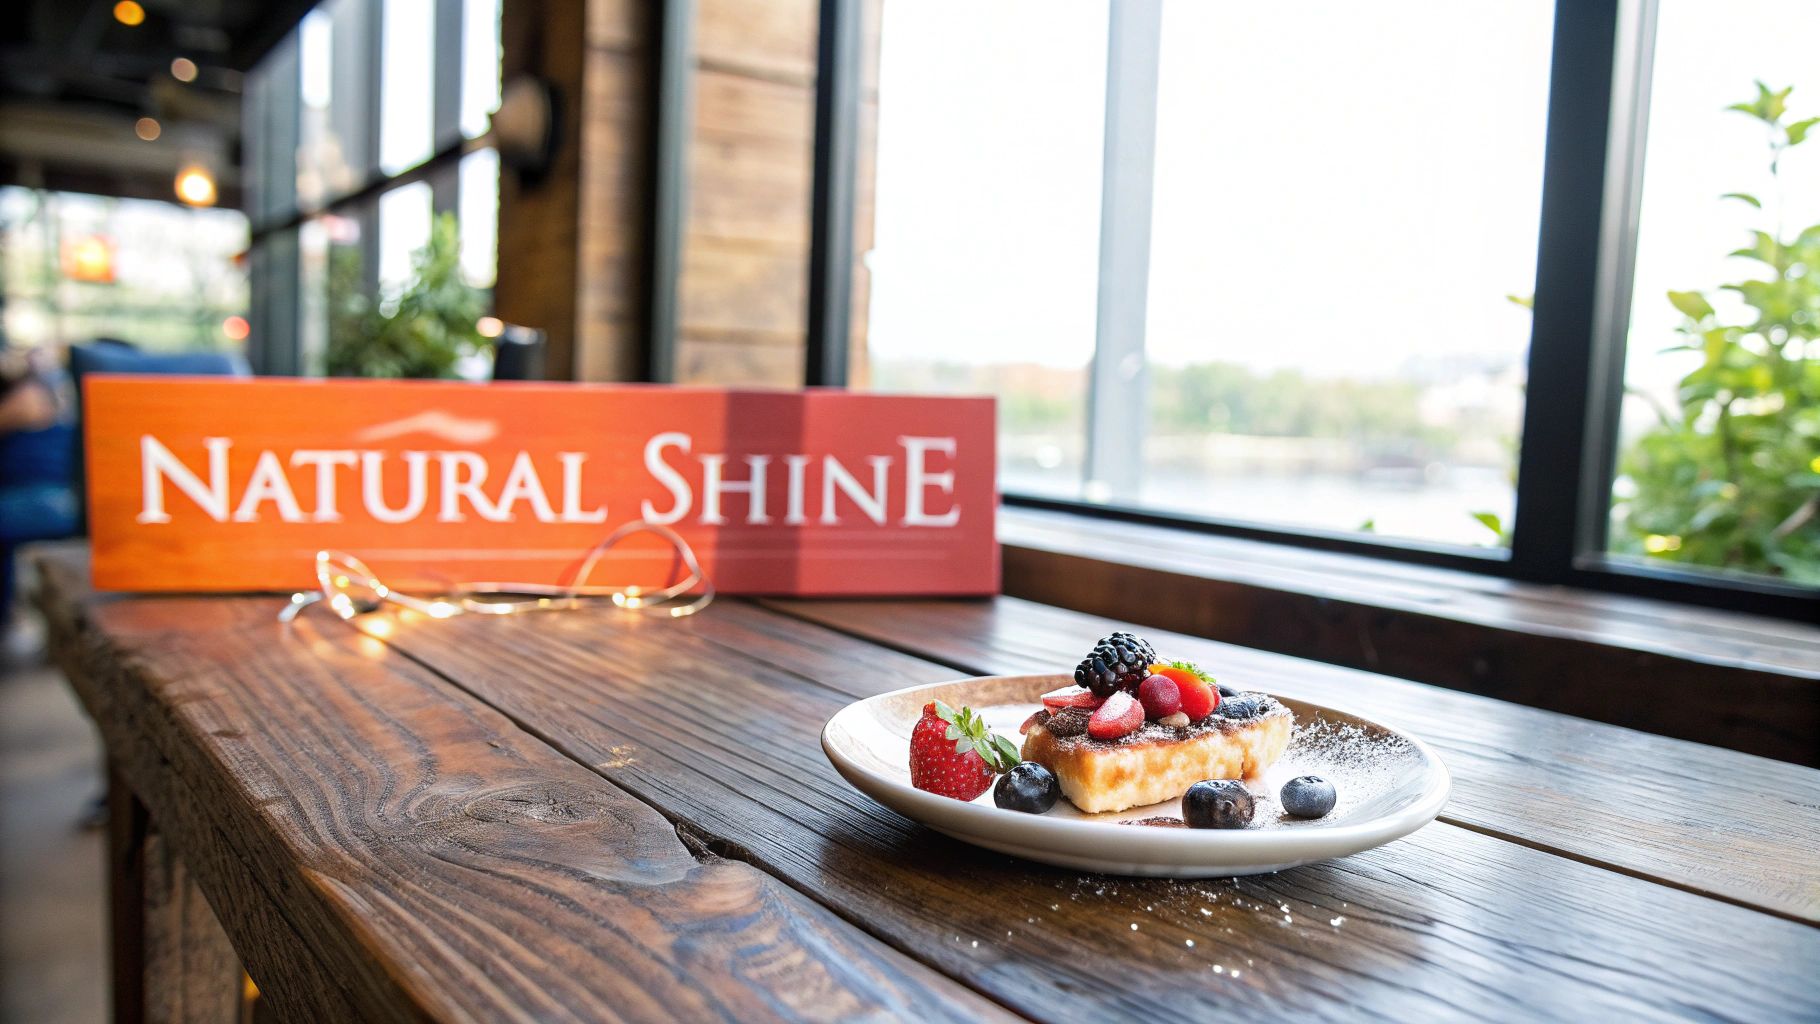
This technique is popular because of its simplicity and the naturally appealing results. Photographers like Linda Lomelino, known for her beautiful dessert photography, have showcased its power. This has inspired countless others. Many Instagram food influencers, and even publications like Bon Appétit, often use modified window light for their food shots. This has made professional-looking food photography accessible to anyone with a window. Check out current Social Media Food Trends to see how natural light plays a role.
The diffused, directional quality of window light is key. The light's intensity changes based on the time of day and weather. This offers a range of moods and effects. Soft shadows reveal food textures, making dishes more appealing. This method requires no special equipment, making it perfect for beginners.
Pros:
- Free and accessible
- Natural-looking results
- Reveals food textures
- Easy for beginners
- No technical lighting knowledge required
Cons:
- Dependent on weather and time of day
- Limited control over light intensity
- Not always available
- May require shooting during specific daylight hours
Tips for Mastering Natural Window Light
- Positioning: Place your food 2-3 feet from the window. This helps with diffusion.
- Bounce Card: Use a white bounce card opposite the window. This fills in shadows and creates even light.
- Cloudy Days: Overcast skies offer the softest, most diffused light.
- Direct Sunlight: Diffuse harsh sunlight. Use translucent curtains or a thin white sheet.
- North-Facing Windows: North-facing windows offer consistent light throughout the day.
By understanding natural window light, you can improve your food photography. Take your images from simple snapshots to captivating visuals that highlight your culinary creations.
2. Diffused Artificial Light Setup
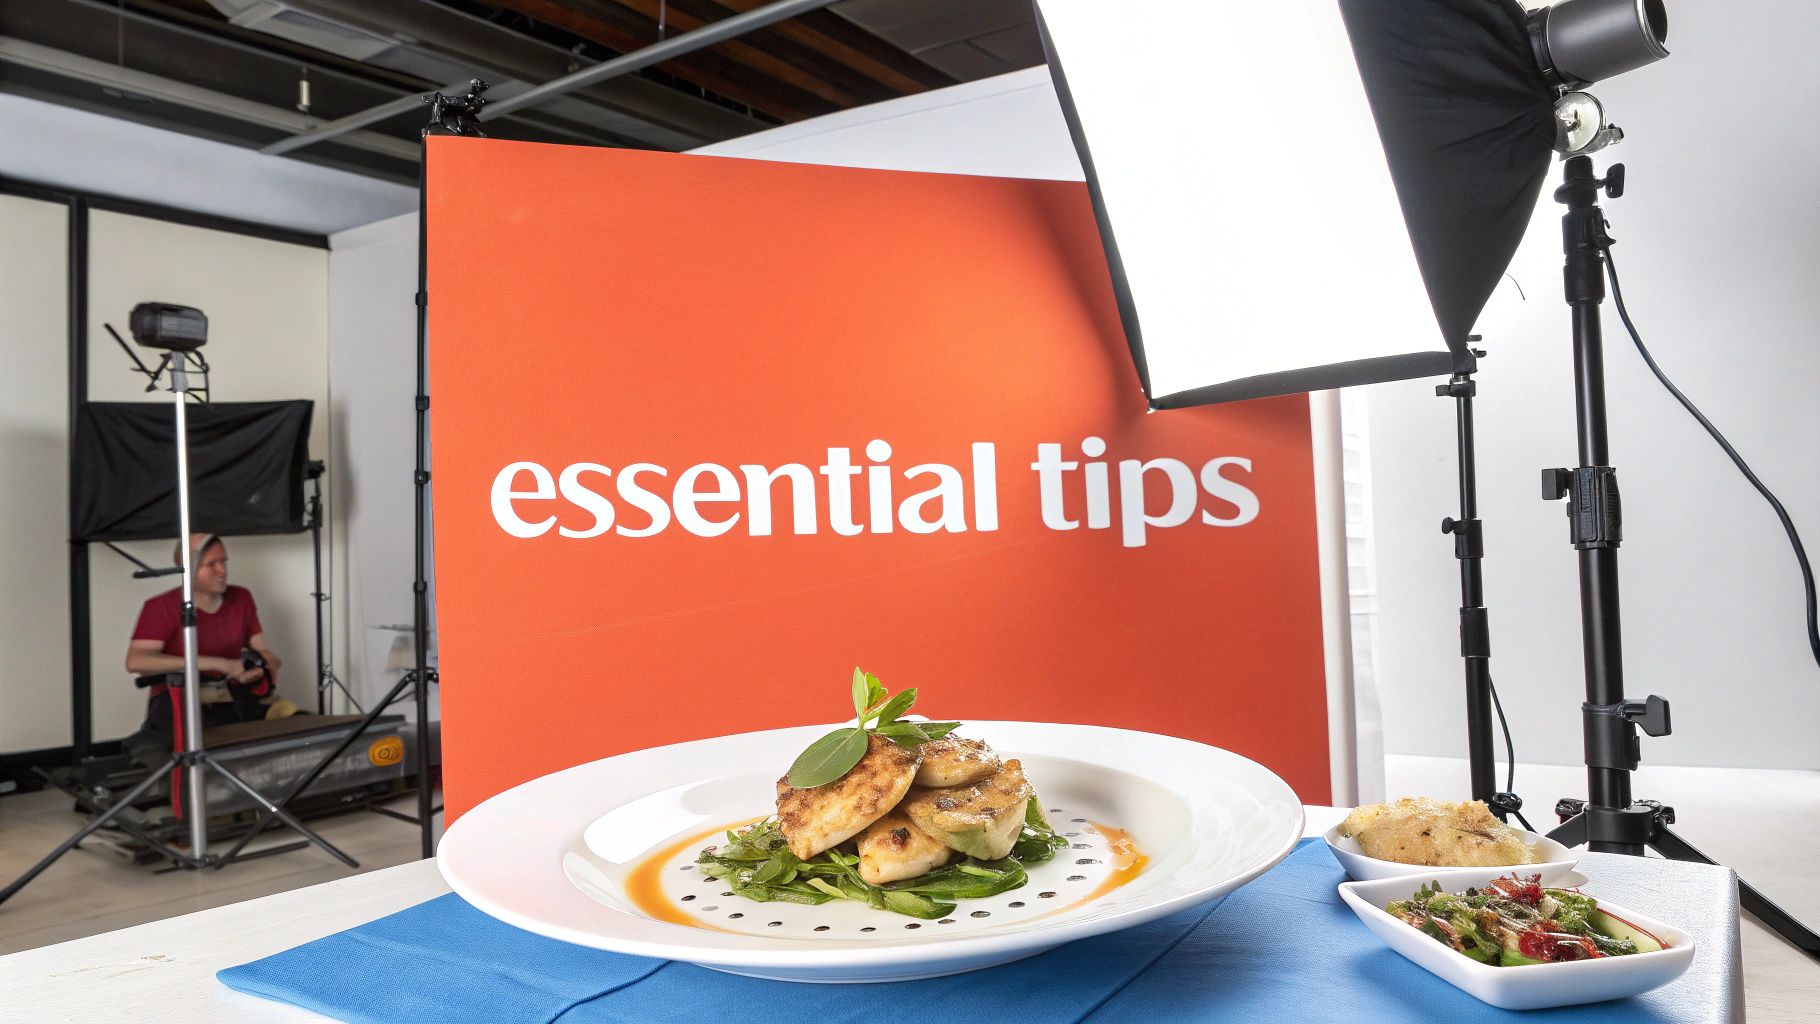
Want consistently beautiful food photos, no matter the time of day or weather? A diffused artificial light setup is the solution. This technique uses artificial lights like continuous LED lights or strobes, softened with diffusers such as softboxes, umbrellas, or scrims. It recreates the soft, even light of a window, but with added control.
This control lets you shape the light, highlighting the textures and colors of your food, making it a favorite among professional food photographers.
Why is this technique so important? Consistency and control are essential in food photography, and diffused artificial light provides both. Whether you’re shooting a simple dinner or an elaborate dessert, this method helps you achieve professional-looking results in any setting. Think of those perfect McDonald's burger ads or the vibrant food spreads in Food & Wine magazine – many use diffused artificial lighting. High-end cookbook photography also relies on this technique, showcasing its versatility and effectiveness.
Photographers like Andrew Scrivani, Nicole Young, and Scott Choucino, alongside numerous commercial food photography studios, have championed this method for its reliability and creative possibilities.
The benefits are many. You’re no longer restricted by daylight or perfect weather. Shoot at midnight if you like! Portable lighting setups let you create a mini-studio anywhere. You have complete control over light direction and intensity, leading to consistent results across multiple shoots. Plus, you can create a variety of lighting styles, from bright and airy to dark and dramatic.
Of course, there are some things to consider. There’s an initial investment in lighting equipment. There’s also a learning curve to mastering artificial lighting, and setup time is needed before each shoot. Poor execution can lead to an artificial look, so practice is key.
Getting Started with Diffused Artificial Light
Here are a few tips to help you begin:
- Position your main light: Place it at a 45° angle to the food to create dimension and highlight textures.
- Size matters: A large softbox (at least 36") creates the best diffusion and softer light.
- Fill those shadows: A white bounce card opposite your main light will brighten shadows and balance the image.
- Less is more: Use lower light intensity than you would for portraits. Subtlety enhances food photography.
- Consistent white balance: LED panels with adjustable color temperature ensure accurate and consistent white balance.
For more tips on managing and sharing your food creations, check out Our guide on the Best Apps for Food Bloggers.
This method’s control, consistency, and versatility make it indispensable for any serious food photographer. While there’s an initial investment and a learning curve, the ability to create beautiful food photos anytime, anywhere, is worth the effort.
3. Backlight Technique
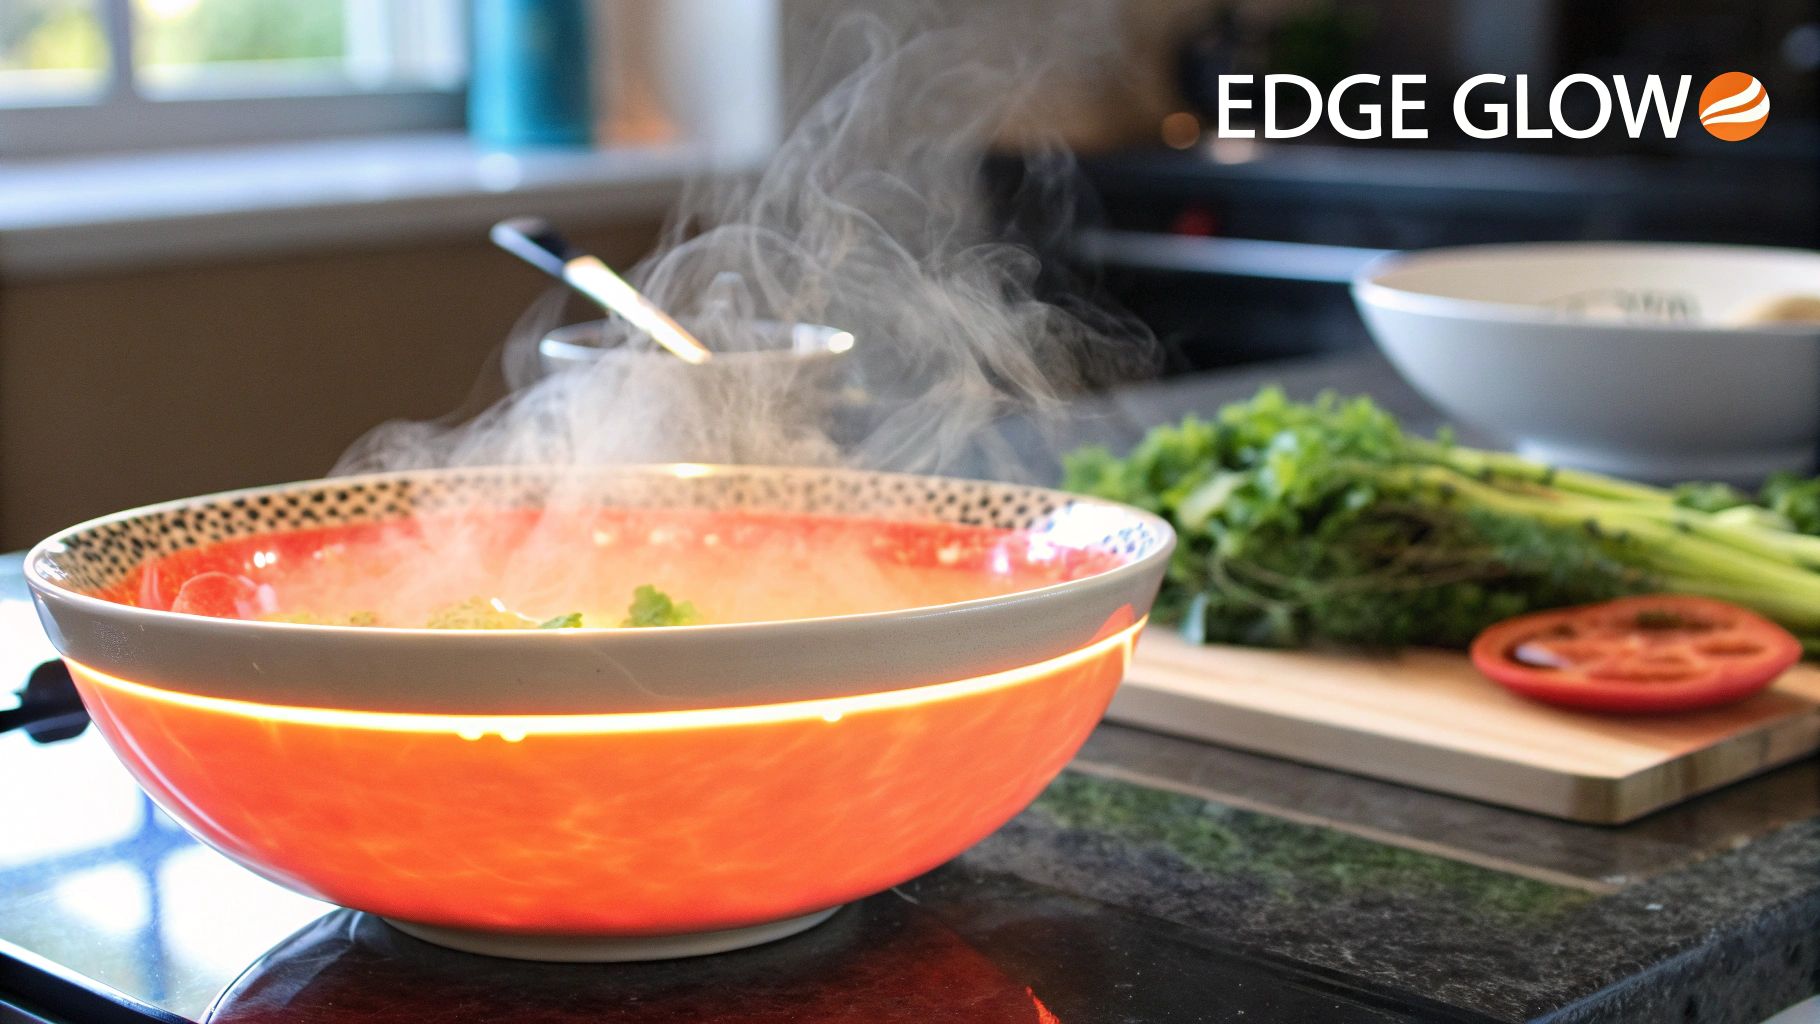
Backlighting is a powerful technique in food photography. It can add drama, depth, and a touch of magic to your images. This technique involves placing your primary light source behind the subject, rather than in front. This creates a luminous effect, highlighting the edges and contours of the food. It also emphasizes any translucency or steam. Backlighting is a fantastic way to make food photos stand out and grab the viewer's attention.
Why Backlighting Is So Effective
Backlighting offers a unique look that’s difficult to achieve with other lighting methods. It instantly elevates a photo, especially with subjects that have interesting textures, translucency, or steam. Think glistening beverages, soups with swirling steam, or crispy-edged cookies fresh from the oven. These foods are all ideal for backlighting.
Features and Benefits
- Rim Lighting: This creates a bright outline around the edges of the subject, separating the food from the background and adding depth.
- Transparency and Translucency: Backlighting showcases the inner structure of translucent foods and drinks. Light passes through, creating a glowing effect.
- Capturing Steam and Smoke: The light beam is easily seen as it passes through steam or smoke, adding warmth and freshness.
- Dramatic and Atmospheric Images: Backlighting creates a mood and atmosphere that’s hard to replicate with other lighting styles. It adds a touch of mystery and intrigue.
Pros and Cons of Backlighting
Here's a quick look at the advantages and disadvantages of this technique:
| Pros | Cons |
|---|---|
| Creates dramatic, atmospheric images | Can create extreme contrast, needing fill light |
| Highlights textures and edges beautifully | May require flags to prevent lens flare |
| Makes translucent foods glow | Can be challenging to properly expose |
| Ideal for steam and beverage photography | Not suitable for all food types |
| Adds depth to flat subjects |
Real-World Examples and Inspiration
Think of beverage advertisements using backlighting to showcase a liquid's viscosity and color. Or cookbooks using backlighting on steaming bowls of soup to capture aroma and warmth. Even high-end magazines like Saveur use this technique. Photographers like Rob Grimm (beverage photography), Steve Hansen, and Penny De Los Santos have popularized backlighting in food photography.
Practical Tips for Using Backlighting
- Use a Reflector: A reflector, like white cardboard, bounces light back onto the front of the subject, filling in shadows.
- Camera Positioning: Position your camera slightly above the backlight to reduce lens flare.
- Fill Light: Add a subtle fill light from the side to show more detail in shadowed areas.
- Beverage Photography: Try different camera angles for optimal light transmission through liquids.
- Lens Hood: Use a lens hood to prevent unwanted flare and maintain contrast.
By mastering backlighting, you can create captivating food photos that will leave your audience wanting more.
4. Side Lighting For Texture
Side lighting is a powerful technique that can dramatically improve your food photos. By placing your light source at a 90° angle to your camera, you create distinct shadows and highlights that emphasize the texture and dimension of your dish. This adds depth and makes even simple food look more appealing and tactile.
Why is this so important? Mastering side lighting adds a new dimension to visual storytelling in food photography. Imagine capturing the rough texture of artisanal bread, the delicate curves of handmade pasta, or the shimmering crumble on a warm pie. Side lighting brings these textures to life, making viewers feel like they could almost reach out and touch the food.
This technique is particularly effective for food with a lot of textural variation, highlighting its three-dimensional qualities. Think of foods with interesting textures: a crusty loaf of sourdough, a bowl of pasta with herbs and parmesan, or pan-seared scallops with crispy edges. But side lighting isn't just for rustic dishes; it can also add a touch of drama to more elegant presentations.
One of the best things about side lighting is its adaptability. It works well with both natural light from a window and artificial light sources. You can easily achieve great results by placing your dish next to a window. For more precise control, artificial lights offer adjustable intensity and positioning.
Pros and Cons of Side Lighting
Let's take a look at the advantages and disadvantages of using side lighting:
| Pros | Cons |
|---|---|
| Reveals texture and detail beautifully | Can create harsh shadows without diffusion |
| Creates dramatic, moody images | May require fill light or reflectors for balanced exposure |
| Adds depth and dimension | Not ideal for all food types (especially flat or single-color foods) |
| Works well for rustic food styling | Can be unflattering for shiny or reflective foods |
| Can be achieved with simple window light |
Tips For Using Side Lighting
- Diffuse the light: Use a diffuser (like a thin white curtain or parchment paper) to soften shadows.
- Use a reflector: Position a reflector opposite the light source to bounce light back into the shadows and balance the exposure.
- Experiment with angles: Try shooting from different angles to find the best shadow patterns.
- Control shadow hardness: Adjust the distance between your light and the food. Closer light creates harder shadows, while further light creates softer ones.
- Change shadow direction: Experiment with the height of your light source to change the direction and length of the shadows.
Side lighting became popular with the rise of "moody food photography" on platforms like Instagram, with photographers like Christopher Testani and Beth Galton showcasing its power in publications like Bon Appétit. Their work, and that of many food bloggers and cookbook authors, cemented side lighting as a key technique for capturing the beauty of food texture. If you're looking to monetize your culinary creations, you might be interested in How to Monetize a Food Blog. This technique remains a favorite for emphasizing texture and creating visually appealing images.
5. Butterfly/Overhead Lighting
Butterfly or overhead lighting is a technique where you position your light source directly above your subject. This minimizes shadows, creating a clean, evenly lit scene. It's a favorite for flat-lay food photography, a style you see all over Instagram. It's simple, effective, and yields professional-looking results, especially for those trendy overhead shots.
The technique gets its name from the faint, butterfly-shaped shadow that can appear beneath objects. This minimal shadowing contributes to the clean, modern aesthetic. The even lighting is great for showcasing ingredient arrangements and highlighting the overall food composition.
Why Butterfly Lighting Works for Food
-
Flat-Lay Photography: Butterfly lighting is practically made for flat-lays, a popular style on platforms like Instagram and Pinterest. It illuminates food arranged on a flat surface, ensuring each element is clearly visible. Think overhead shots of charcuterie boards or smoothie bowls.
-
Clean Aesthetic: Minimal shadows contribute to a clean look, putting the focus on the food without distractions. This is ideal for food bloggers, recipe developers, or anyone wanting a professional style.
-
Consistent Results: Compared to more complicated lighting, butterfly lighting is easier to master. This allows for consistent results, creating a cohesive look across your photos.
Pros and Cons
-
Pros: Ideal for flat-lay and overhead shots, creates clean images perfect for social media, minimizes shadows, showcases ingredients, easy to achieve consistent results.
-
Cons: Images can sometimes appear flat and lack dimension, not ideal for emphasizing texture, can create reflections on glossy surfaces, may require special equipment for artificial light.
Tips for Butterfly Lighting
-
Artificial Light: A C-stand or boom arm can position your light. Use a softbox or diffuser for even, diffused light.
-
Natural Light: Shoot near a window or skylight at midday for natural, diffused butterfly lighting.
-
Reflective Surfaces: Adjust your food or light to minimize glare. A polarizing filter can help control reflections.
-
Adding Dimension: A reflector or a second, less intense light source can add depth and highlight textures.
-
Watch for Shadows: Avoid casting shadows from your camera or hands.
The Growing Popularity of Butterfly Lighting
The popularity of butterfly lighting has grown with the rise of social media and food blogs. Websites like Food52 and publications like Bon Appétit often use this style, showcasing beautiful overhead food shots. Food influencers and the minimalist food photography trend have helped solidify its place as a key lighting technique.
6. Dark and Moody Lighting
Dark and moody lighting has become incredibly popular in food photography. It offers a dramatic and evocative style compared to the bright and airy aesthetic. This technique uses a controlled, single light source to create striking highlights on the food, contrasted against deep shadows and dark backgrounds. The result? An intimate, almost mysterious atmosphere that draws the viewer in and emphasizes the food's texture and fine details. It's a compelling way to create food images that evoke emotion.
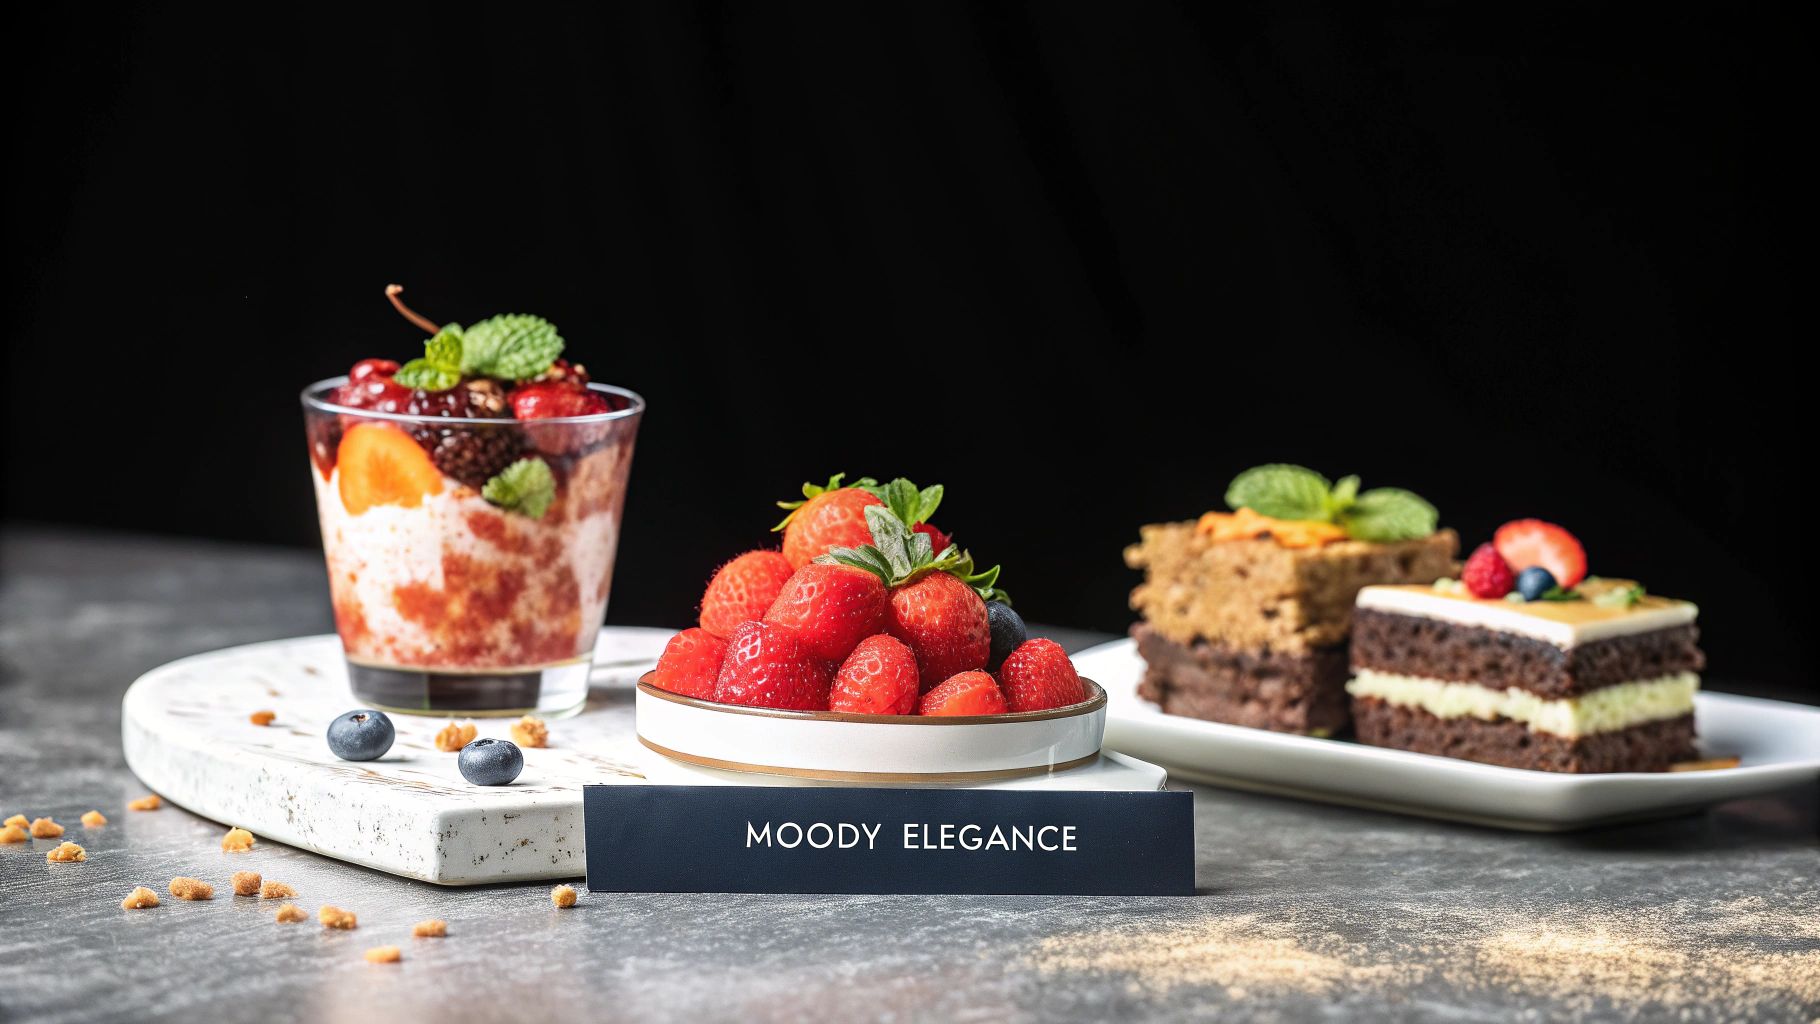
Imagine a dimly lit restaurant where a single spotlight illuminates a beautifully presented dish. This is the essence of dark and moody food photography. High contrast between light and shadow is essential, adding drama and emphasizing specific food elements. This style is especially effective for showcasing food textures, making a dish of pasta appear deliciously tactile or the glaze on a pastry truly irresistible.
Why Dark and Moody Works
This lighting style elevates food photography. It’s more than just capturing a meal; it's about creating a visual experience, conveying a mood and atmosphere. Whether you're a home cook sharing on Instagram or a food blogger striving for professional-looking shots, dark and moody lighting offers a versatile and powerful approach.
Pros of Dark and Moody Lighting
- Dramatic, Emotional Imagery: Photos have a strong sense of mood and atmosphere.
- Texture and Detail: The interplay of light and shadow emphasizes the textures and details, making food more visually appealing.
- Vibrant Colors: Colors appear richer and more vibrant against dark backgrounds.
- Atmosphere and Mood: Sets a specific tone for your photos, from rustic charm to luxurious decadence.
- Specific Food Styles: Works especially well with rustic, artisanal, or high-end food.
Cons of Dark and Moody Lighting
- Light Control: Mastering this technique takes practice and a deep understanding of light.
- Exposure Challenges: Balancing highlights and shadows requires careful metering and adjustments.
- Equipment Needs: You might need tools like flags, gobos, snoots, and grids to control and shape the light.
- Food Limitations: Bright, colorful dishes might not be as suited to this style.
Tips for Dark and Moody Lighting
- Use Flags: Black foam boards or flags block stray light and create negative space.
- 45° Light Placement: Positioning your light at a 45° angle often creates the most dramatic highlights and shadows.
- Underexpose Ambient Light: Lowering the ambient light by 1-2 stops creates a darker, moodier atmosphere.
- Dark Backgrounds: Use black or dark grey backgrounds to heighten the drama.
- Snoots and Grids: Use a snoot or grid on your light source for a more focused beam of light and enhanced control.
- Practical Lights: Incorporate elements like candles or small lamps to further enhance the atmosphere.
The Rise of Dark and Moody
Photographers such as Marte Marie Forsberg, Katie Quinn Davies, and Francesco Tonelli have popularized this style. They’ve showcased its ability to create stunning and evocative food images. The "dark food photography" trend on Instagram further fueled its popularity, inspiring many food bloggers and photographers to try this compelling style.
By understanding dark and moody lighting and these practical tips, you can significantly improve your food photography. Create captivating images that tell a story. Experiment, practice, and unlock the potential of shadows!
7. Multiple Light Rim Technique
Want your food photos to look magazine-worthy? The multiple light rim technique can help. This advanced lighting method uses two or more light sources behind and to the sides of your subject. This creates a luminous halo effect, making food really stand out.
Instead of one highlight, multiple rim lights create several defined edges and highlights. This adds depth and separates the food from the background. This technique is especially effective for showcasing the shape and texture of food, making even simple dishes appealing. Think glistening drinks, layered parfaits, or detailed desserts. It’s the secret to that “wow” factor in food photography.
How It Works
The basic principle is to position your lights at approximately 135° angles relative to your camera, just behind the food. This backlighting creates the rim highlight by illuminating the edges. Using multiple lights creates a more controlled highlight, adding more dimension. A subtle front fill light is often used to prevent the front of the subject from being too dark, balancing the exposure.
Why This Technique Stands Out
This technique takes more setup than simpler lighting, but the sophisticated results justify the effort. It's popular with professional food photographers and advertisers because it:
- Creates professional images: Elevates food photography.
- Defines shape and form: Emphasizes the contours and textures.
- Separates food from background: Makes the subject stand out.
- Adds dimension and depth: Makes dishes visually captivating.
- Works well for beverages and reflective foods: Captures glistening highlights.
Pros & Cons
Pros: See above.
Cons:
- Requires multiple light sources and modifiers: You'll need at least two lights, ideally with grids or barn doors.
- Complex setup: Achieving the perfect balance takes practice.
- Time-consuming: Adjusting the lights takes time.
- Can create conflicting shadows: Careful positioning is essential.
Tips for Implementation
- Start with two lights: Add more as needed.
- Position rim lights at 135° angles: Experiment to find what works best.
- Use grids or barn doors: Control light spill and reflections.
- Rim lights 1-2 stops brighter than fill light: Prominent rim highlights.
- Use flags to prevent lens flare: Block stray light.
- Experiment with different heights: Vary edge effects.
- Consider colored gels: Add a creative touch.
Examples and Inspiration
Check out high-end food magazines, advertisements, and the work of photographers like Rob Grimm and Alex Koloskov for inspiration. Their work showcases this technique.
Evolution and Popularity
This complex technique gained popularity as photographers wanted more dynamic food photos. Pioneered by commercial photographers and championed by educators like Grimm and Koloskov, it’s a staple in professional food photography. Now, food bloggers and home cooks also use this technique to improve their photos. With practice, you can use this professional lighting style to capture stunning food photos.
8. Light Painting for Food
Want to add a touch of magic to your food photography? Light painting might be the answer. This specialized technique uses a handheld light source, such as a small flashlight or LED panel, to "paint" light onto your food during a long exposure. This gives you incredible control, highlighting textures and creating dramatic shadows you wouldn't get with traditional lighting. Light painting takes food photos from simple snapshots to captivating art.
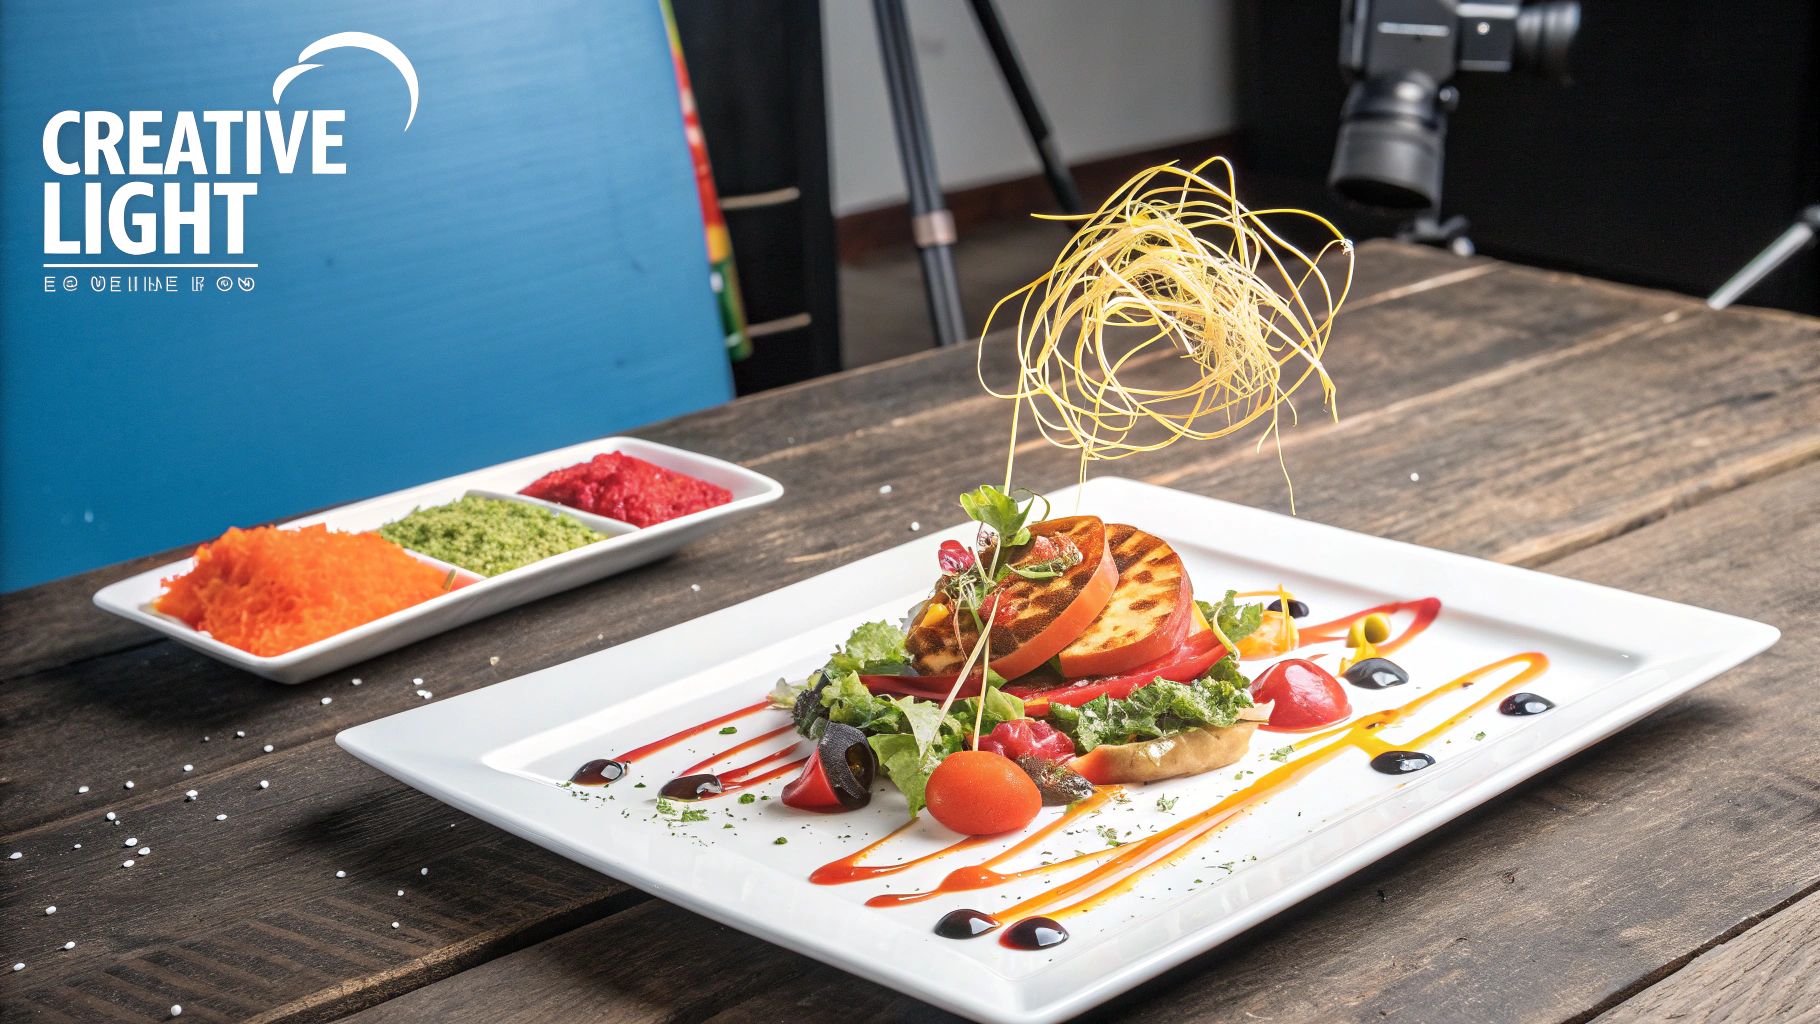
Imagine a darkened room, your camera on a tripod, focused on a delicious dish. Instead of a fixed light, you use a small light to selectively illuminate parts of the food during a long exposure. You’re essentially painting with light. This gives you complete control over light direction and intensity, allowing you to shape the scene with highlights and shadows.
How did this technique become so popular? Pioneers like Harold Ross and Arielle Royer pushed the boundaries of food photography, demonstrating the artistic possibilities of light painting. Their stunning work, along with its adoption by commercial photographers, helped popularize the technique. You can now see it in artistic cookbooks, food photography competitions, and magazines.
Features and Benefits of Light Painting
- Selective Illumination: Focus on specific details, highlighting textures you’d miss with standard lighting.
- Dramatic Contrast: Create striking shadows and highlights for a dynamic, visually appealing image.
- Unique and Artistic Results: Make your images stand out. This is perfect for food bloggers and influencers.
Pros and Cons of Light Painting
Here’s a quick look at the advantages and disadvantages of light painting:
| Pros | Cons |
|---|---|
| Creates unique lighting effects | Requires a tripod and long exposures |
| Offers precise lighting control | Difficult to replicate exact results |
| Highlights specific textures and details | Requires practice and patience |
| Produces distinctive, eye-catching images | Can be time-consuming |
| Ideal for artistic food photography | Not suitable for foods that change quickly |
Practical Tips for Light Painting
- Darkened Room: A dark environment gives you maximum control over your light source.
- Tripod Essential: Use a tripod and remote shutter release to prevent blur.
- Long Exposure Settings: Set your camera to bulb mode or a long exposure (15-30 seconds).
- Focused Light Source: Use small, focused lights like penlights or small LED panels.
- Consistent Movement: Practice smooth movements for even illumination.
- Multiple Passes: Build up the image with multiple passes of your light.
- Experiment with Color: Try colored lights for creative effects.
While light painting requires some patience and practice, the beautiful results are worth it. It's a technique that transforms food photos into compelling visual stories.
8-Point Food Photography Lighting Comparison
| Technique | Implementation Complexity (🔄) | Resource Requirements (⚡) | Expected Outcomes (📊) | Ideal Use Cases (💡) | Key Advantages (⭐) |
|---|---|---|---|---|---|
| Natural Window Light | Low simplicity | Minimal, window only | Natural, soft, textured light | Budget & casual photography | Accessible & flattering |
| Diffused Artificial Light Setup | Moderate-High, equipment setup | Equipment heavy (lights, diffusers) | Consistent & versatile illumination | Studio & commercial shoots | Precise light control |
| Backlight Technique | Moderate, requires careful angle | Moderate setup (reflectors may be needed) | Dramatic rim lighting & glowing effects | Specialty subjects (beverages, soups) | Enhanced depth & dynamic contrast |
| Side Lighting for Texture | Moderate, requires adjustments | Minimal-Moderate (optional reflectors) | Pronounced shadows emphasizing texture | Rustic dishes & detailed food styling | Reveals texture & adds dimension |
| Butterfly/Overhead Lighting | Low-Moderate, straightforward | Minimal-Moderate (overhead mounting) | Even, clean illumination with few shadows | Flat-lay compositions & social media content | Consistent & visually appealing |
| Dark and Moody Lighting | High, precise control needed | High (additional modifiers and flags) | Dramatic, high-contrast, atmospheric images | Luxury, artistic, and emotional storytelling | Creates mood & strong contrast |
| Multiple Light Rim Technique | Very High, complex setup | Heavy (multiple lights and modifiers) | Sophisticated rim highlights that define edges | High-end commercial & premium photography | Professional separation & form definition |
| Light Painting for Food | High, experimental process | Specialized (tripod, remote, long exposure gear) | Unique, artistic lighting effects | Fine art & experimental photography | Distinctive creative precision |
Ready to Take the Shot?
With these eight food photography lighting tips, you have a versatile toolkit to elevate your food photos. From natural window light and diffused artificial light to techniques like backlighting, side lighting, and even light painting, the possibilities are vast. Remember, controlling the direction, intensity, and color of your light is key to shaping the mood and highlighting the delicious textures of your dish.
Starting with something simple, like natural light near a window, is a great way to begin. As you become more comfortable, gradually experiment with more complex setups like backlighting and multiple light sources.
Experimentation is Key
Applying these lighting concepts is all about practice. Don't hesitate to try different angles, move your lights, and observe how the light interacts with your food. Every dish presents unique challenges, so the ideal lighting setup will vary. The more you practice, the better you'll become at recognizing which lighting techniques work best.
Keep an eye on food photography trends on platforms like Instagram and Pinterest, as well as in food magazines, for inspiration and emerging techniques. Food photography is an ever-evolving art, influenced by advancements in camera technology and lighting equipment. Embrace lifelong learning to stay at the forefront of this exciting field.
Key Takeaways for Food Photography Lighting
- Direction: Side lighting emphasizes texture, backlighting creates a beautiful glowing effect, and front lighting offers even illumination.
- Intensity: Control the brightness of your light with diffusers, reflectors, or simply by adjusting the distance between your light source and your subject.
- Color: Experiment with warm and cool light to create different moods and enhance the food's natural colors.
- Practice: Experimentation is crucial to mastering food photography lighting. Don't be afraid to try new things!
Ready to streamline your recipe collection and elevate your food photography journey? Recify lets you save recipe links from any online platform – YouTube, Instagram, TikTok, Pinterest, and more – converting them into easy-to-follow instructions. Organize your culinary inspiration into personalized collections and create your own digital cookbook. Start your free trial of Recify today: https://www.recify.app
